
After completing my Scratch learning journey, where I focused on understanding the background and real-world use cases of Scratch, I moved on to the second part: learning the core features of the platform. This stage focused on gaining hands-on experience with the Scratch interface and understanding how to build interactive projects using its fundamental components.
What I Learned
Interface Navigation
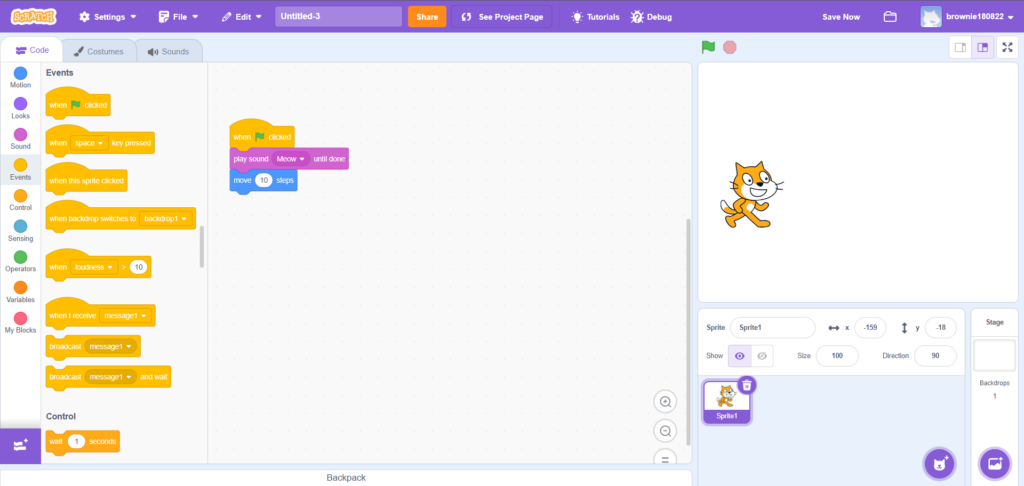
I started by exploring the Scratch user interface. This included the Stage, where all visual interactions take place; Sprites, which are the characters or objects in a project; the Script Area, where code blocks are assembled; and the Block Palette, which contains categorized code blocks. Understanding the layout and function of each section made it easier to begin experimenting with simple projects.
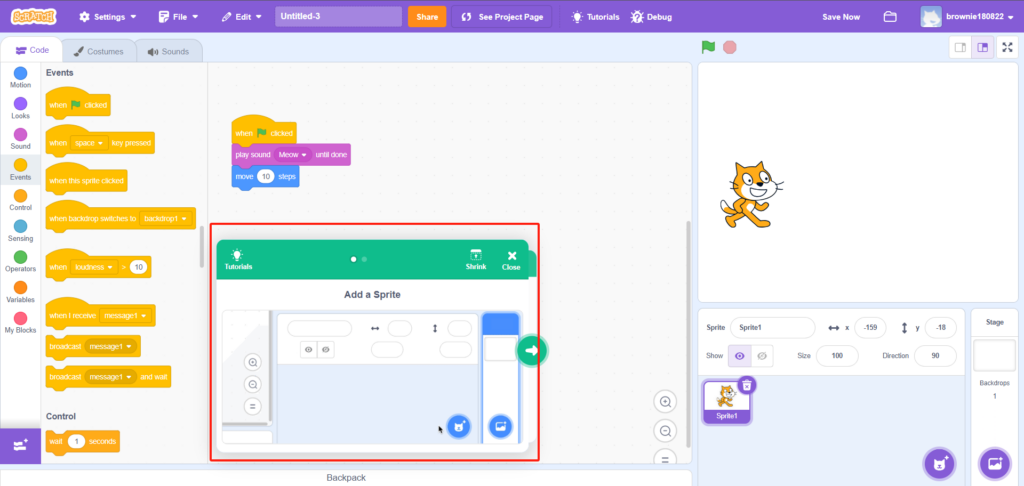
In addition, Scratch offers excellent built-in tutorial videos that are easily accessible while working on your project, making it simple to learn and apply new features at the same time.
Basic Programming Concepts
Next, I explored key programming concepts using Scratch’s block-based system. These included:
- Motion blocks to move sprites across the screen
- Looks blocks to change appearances or display messages
- Events blocks to trigger actions, such as when the green flag is clicked
- Control blocks to add loops and conditionals
- Variables to store and update values like scores or timers
What makes Scratch especially beginner-friendly is its intuitive drag-and-drop programming style. Building a program feels like assembling puzzle pieces—each block visually represents a logical operation, making it easy to understand how the program flows. The interaction between blocks is smooth and satisfying: when dragging a block close to another, there’s a “snap-together” magnetic effect that gives you a clear sense of structure and completion. This tactile design makes programming in Scratch not only educational but also enjoyable.
Sound and Animation
I learned how to add sound effects and create simple sprite animations. By switching between different costumes and using timing controls, I was able to simulate walking animations and other visual effects. Adding sounds also made the interactions more engaging and immersive.
User Interaction
I implemented basic keyboard controls that allowed users to move a sprite using the arrow keys. I also experimented with mouse-based interactions, such as triggering an event when a sprite is clicked. These elements introduced interactivity and gave me a glimpse of how user input is handled in game development.
This phase helped me realize the power and flexibility of visual programming. I was particularly impressed by how quickly ideas could be tested and refined within Scratch’s intuitive environment. Even with simple tools, it’s possible to create meaningful interactions and logical structures.
Sorry, but comments are not enabled on this site.